How to Publish a Chrome Extension to the Chrome Web Store (2026)
Publishing a Chrome extension is straightforward once you know the steps — but a rejected submission or a half-finished listing can cost you days. This guide walks through the entire process for 2026, from preparing your package to passing review.
1. Prepare and test your extension
Before you publish, make sure your extension is production-ready:
- Your manifest.json uses Manifest V3 (Manifest V2 is no longer accepted for new extensions).
- Request only the permissions you actually use — over-requesting is the most common review rejection.
- Test the unpacked extension locally via
chrome://extensions→ "Load unpacked". - Zip the contents of your build folder (not the folder itself) into a single .zip file.
2. Create a Chrome Web Store developer account
Go to the Chrome Web Store Developer Dashboard and sign in with a Google account. There is a one-time US$5 registration fee that lets you publish up to 20 extensions. Complete your account details and verify your contact email — Google uses it for review notices.
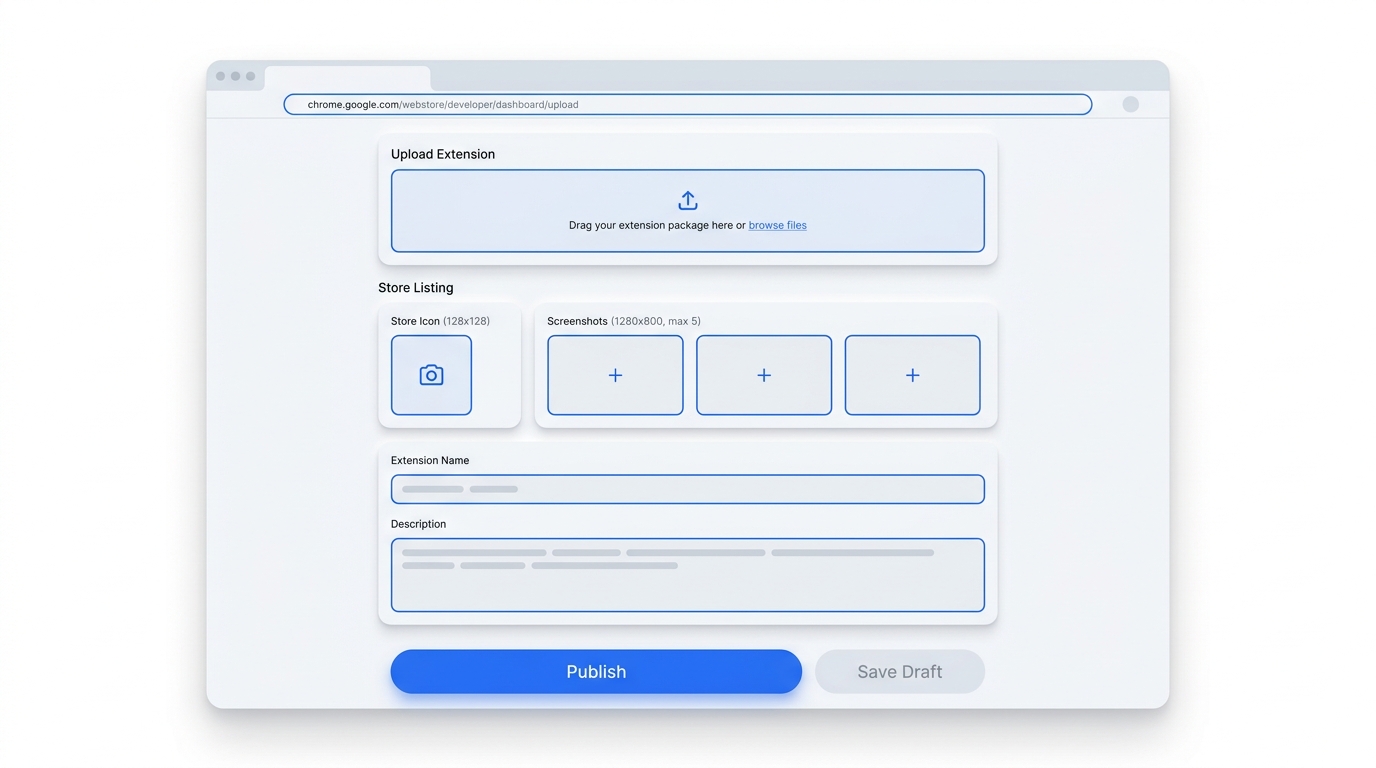
3. Prepare your listing assets
Google requires specific image sizes. Have these ready before you start the listing (see our image sizes cheat sheet for exact specs):
- Store icon — 128×128 PNG.
- Screenshots — at least one, 1280×800 (or 640×400).
- Marquee promo tile (optional but recommended) — 1400×560.
4. Write your store listing
This is where most installs are won or lost. You'll need:
- A title (max 75 characters; aim for under 45 so it isn't truncated).
- A short description (max 132 characters) — the single most important line for click-through.
- A detailed description with your features, benefits, and keywords.
- A category and primary language.
Write for both search and humans: lead with the user's problem, weave in the terms people actually search, and keep formatting scannable.
5. Set your privacy practices
In the "Privacy practices" tab you must justify every permission and host permission, declare what data you collect, and — if you handle user data — link to a privacy policy. Missing or vague privacy disclosures are a leading cause of rejection. See our privacy policy guide.
6. Upload and submit for review
- In the dashboard, click "Add new item" and upload your .zip package.
- Fill in the listing fields and upload your assets.
- Complete the privacy practices tab.
- Choose visibility (Public, Unlisted, or Private) and click Submit for review.
7. The review process
Review typically takes anywhere from a few hours to a few business days. Extensions requesting sensitive permissions take longer. If rejected, Google emails the specific policy reason — fix it and resubmit. Once approved, your extension goes live and is indexed in Chrome Web Store search.
After you launch
Publishing is the start, not the finish. Drive your first installs (Product Hunt, Reddit, your network), gather reviews, and iterate on your listing copy and screenshots based on what converts. A polished, keyword-optimized listing keeps compounding long after launch day.
Skip the busywork
Extino generates your listing, icons, screenshots, and privacy policy in minutes.