How to Use Extino: A Step-by-Step Walkthrough
Extino turns a rough extension idea into a complete, store-ready launch package — names, listing copy, brand identity, icons, screenshots, a privacy policy, and a marketing plan. Here's the full workflow, step by step, with a screenshot for each stage.
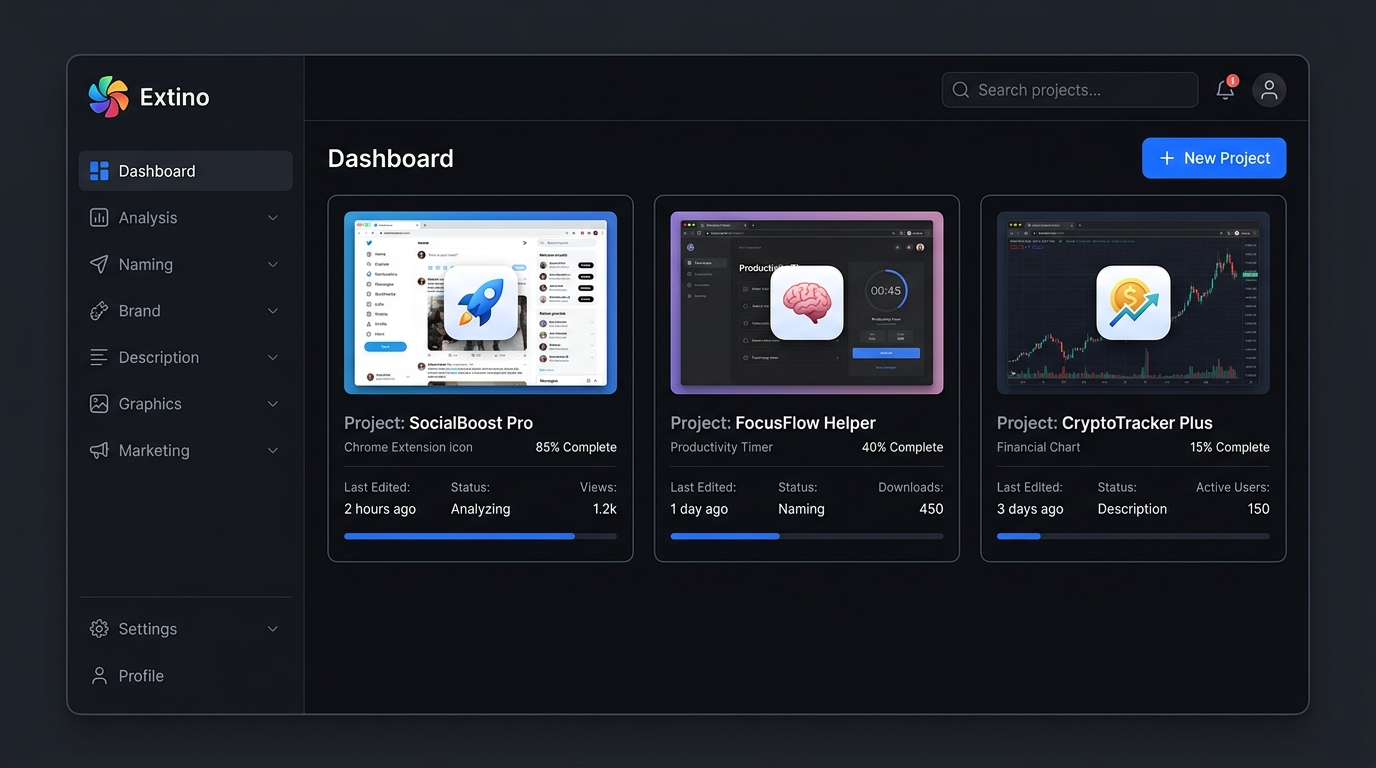
Step 1 — Create a project
After you sign up, you land on your dashboard. Click + New Project to start. Each project is one extension, and your plan determines how many projects and generations you get per month. The left sidebar is your workflow: Analysis → Naming → Brand → Description → Graphics → Marketing.
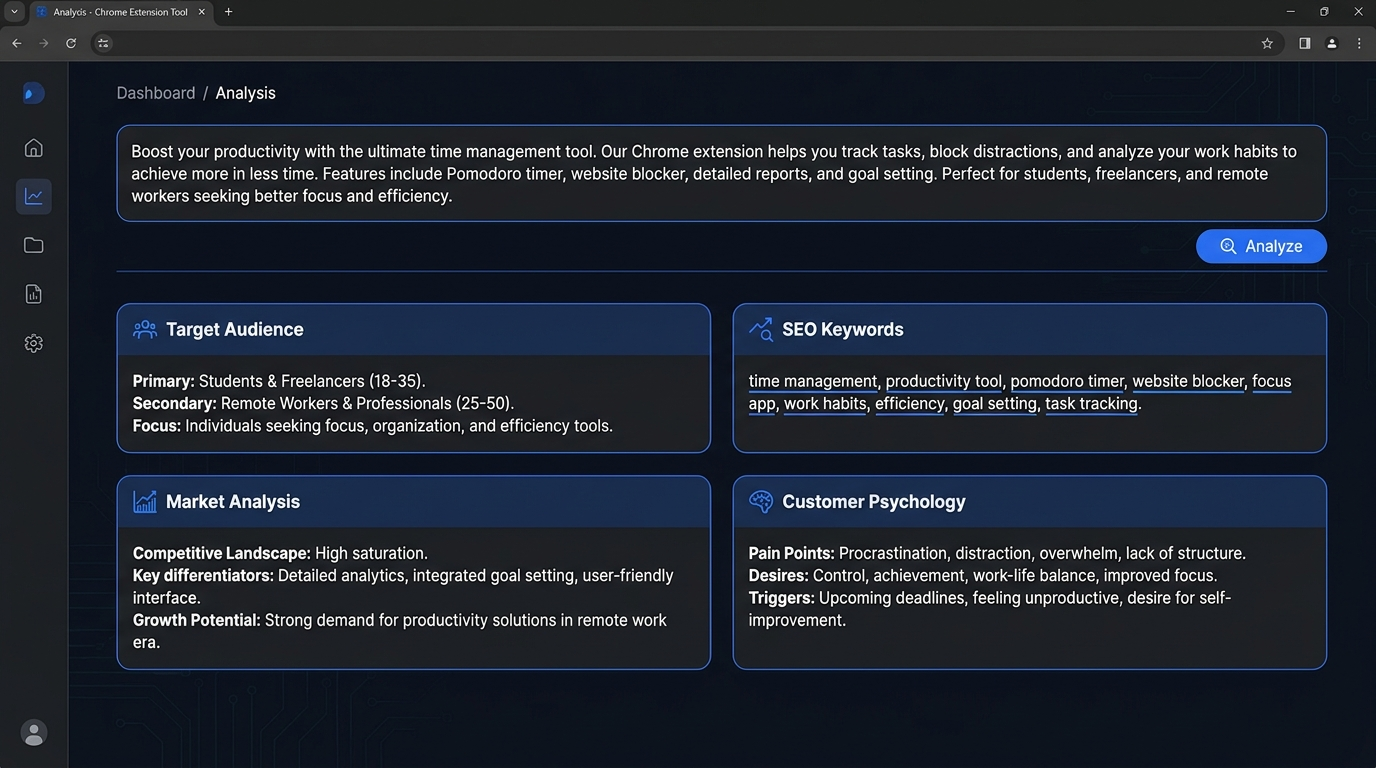
Step 2 — Describe your extension and run the analysis
Paste your extension idea, description, or even your manifest.json into the Analysis step and click Analyze. Extino runs a deep analysis across four lenses — customer psychology, market positioning, SEO/ASO strategy, and business opportunity — and returns structured results: target audience, primary keywords, core features, and a recommended tone.
Step 3 — Generate names and listing copy
Move to Naming to get scored name suggestions — both SEO-driven and creative — each rated on brandability, search potential, and relevance, and kept within the 75-character store limit. Pick your favorite, then generate a short description (under 132 characters) and a full long description written to convert, all tailored to your analysis and tone.
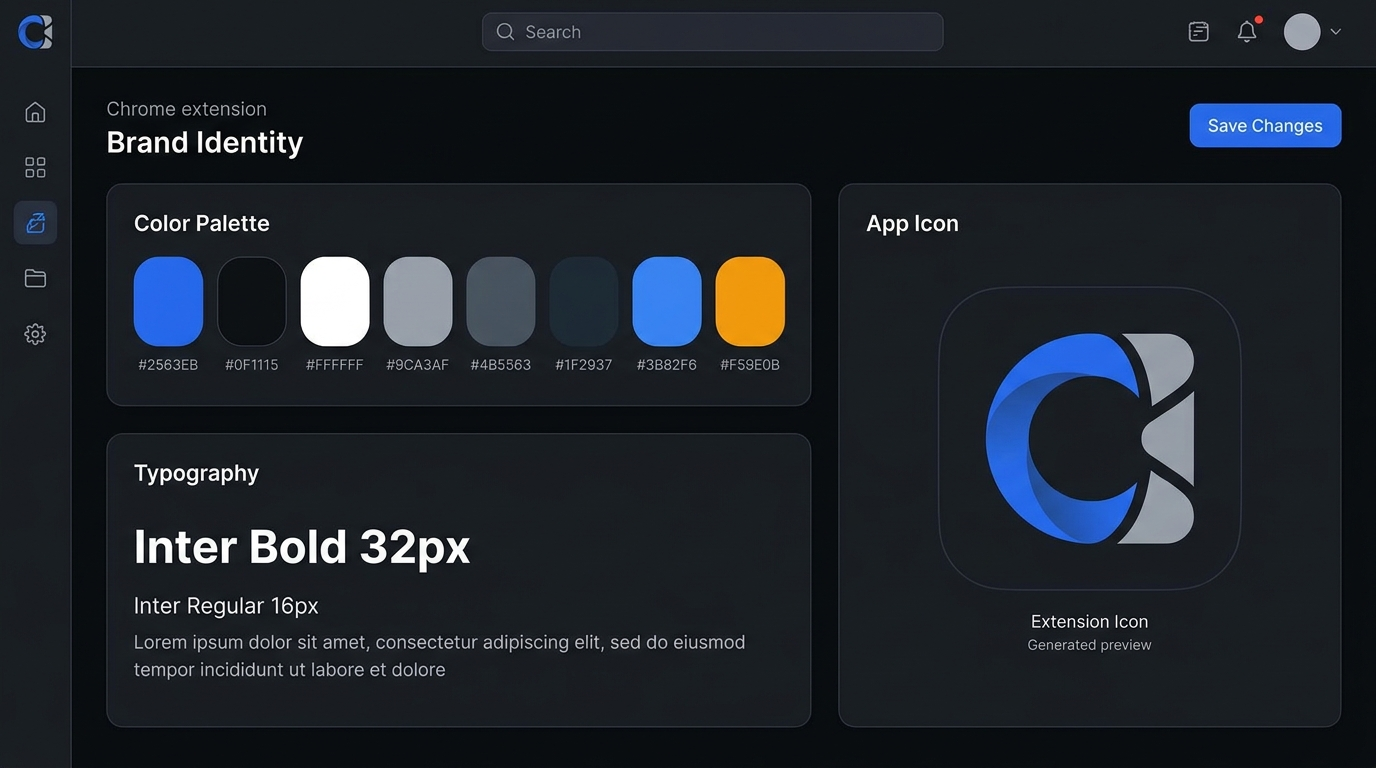
Step 4 — Build your brand identity and icons
In the Brand step, Extino creates a complete identity: an 8-color palette with rationale, a font pairing, and AI-generated app icons in multiple styles (Flat, 3D, Mascot, Minimal). Regenerate or fine-tune until it fits, and your assets stay visually consistent across the whole listing.
Step 5 — Create store graphics and marketing
The Graphics studio produces Chrome Web Store screenshots, a marquee banner, and promo tiles — all sized exactly to spec with drag-and-drop templates. Then the Marketing step generates a launch plan with email sequences, a social calendar, and ready-to-post content, plus a Chrome Web Store privacy policy.
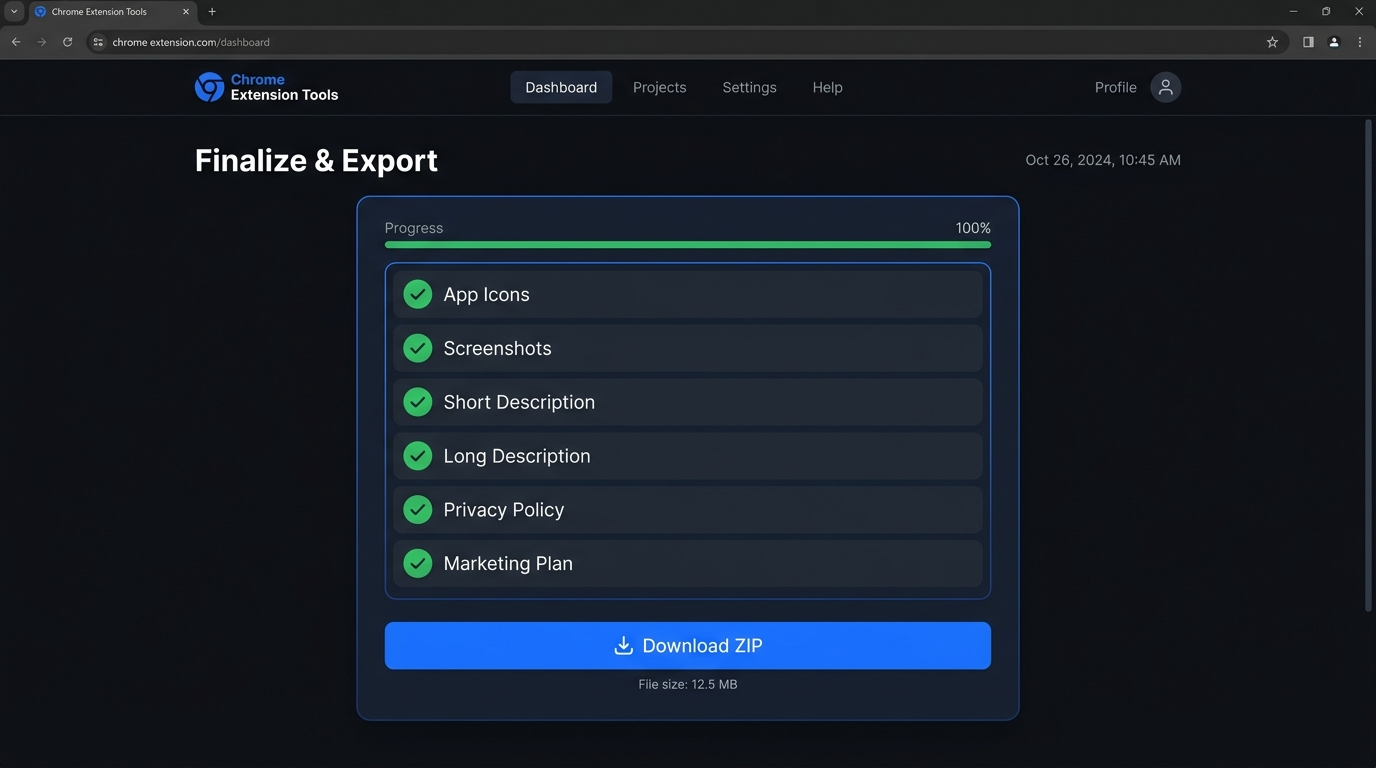
Step 6 — Export your launch package
When everything looks right, head to Finalize and download a single ZIP containing every asset, description, keyword list, privacy policy, and marketing document — ready to upload to the Chrome Web Store. From idea to a complete, store-ready package in minutes.
Ready to try it? Create your first project free — no credit card required. New to publishing? Pair this with our guide to publishing a Chrome extension.
Skip the busywork
Extino generates your listing, icons, screenshots, and privacy policy in minutes.